Irresistible Cheesy Beef Melt Burritos for Quick Comfort
Introduction
Have you ever craved a meal that perfectly balances indulgence and convenience? Enter the world of cheesy beef melt burritos! These delightful bundles of joy are not just an easy weeknight dinner but also a solution to the age-old dilemma: “How can I satisfy my comfort food cravings without spending hours in the kitchen?”
Many think creating a delicious burrito requires restaurant-level skills, but the truth is far less daunting. With our guide, you’ll discover how to whip up these scrumptious burritos in no time. Ready to dive into the world of cheesy beef melt burritos? Let’s get started!
Ingredients List
To craft these cheesy delights, you’ll need the following ingredients. Don’t worry if you’re missing an item—many substitutions can work just as well!
- Ground Beef (1 pound): You can substitute with ground turkey or chicken for a leaner option.
- Taco Seasoning (1 packet or homemade): Use low-sodium seasoning or your homemade blend for healthier flavor.
- Refried Beans (1 can, 15 oz): Black beans serve as a great alternative for a vegetarian option.
- Shredded Cheddar Cheese (2 cups): Try Monterey Jack or a Mexican blend for variation.
- Flour Tortillas (4 large): Whole wheat tortillas can add more fiber to your meal.
- Sour Cream or Greek Yogurt (for serving): Low-fat or non-dairy versions work well for lighter choices.
- Salsa (for serving): Consider fresh pico de gallo for a zesty twist.
Timing
Prep Time: 10 minutes
Feel free to chop those ingredients while your beef is browning; the more efficient you are, the sooner you can indulge!
Cook Time: 15 minutes
The aroma of sizzling beef and melting cheese will fill your kitchen, making everyone eager for what’s to come.
Total Time: 25 minutes
In just under half an hour, these cheesy burritos will go from your counter to your table!
Step-by-Step Instructions
Step 1: Brown the Beef
In a large skillet over medium-high heat, add the ground beef. Cook until browned, usually about 5-7 minutes. Keep breaking it apart with a spatula for even cooking.
Chef’s Tip: Drain excess fat to keep the dish lighter, but leave a little for moisture and flavor!
Step 2: Season It Up
Once the beef is browned, sprinkle the taco seasoning over it. If you’re using homemade seasoning, mix it in evenly.
Chef’s Tip: For added flavor, incorporate a splash of water to ensure the seasoning melds beautifully with the beef.
Step 3: Add Refried Beans
Mix in the refried beans, stirring until everything is well-combined and heated through. This step will make your burrito filling rich and creamy!
Chef’s Tip: If you prefer a bit of spice, you can add finely chopped jalapeños at this stage.
Step 4: Assemble Your Burrito
Lay out the tortillas on a flat surface. Spoon a generous portion of the beef mixture into the center of each tortilla, then sprinkle with shredded cheese.
Step 5: Roll It Up
Fold in the sides of the tortilla and roll it tightly from the bottom to the top. Place the seam side down on a hot skillet to seal the burrito.
Chef’s Tip: For an extra crispy texture, toast them on both sides for a minute or two after rolling.
Step 6: Serve and Enjoy
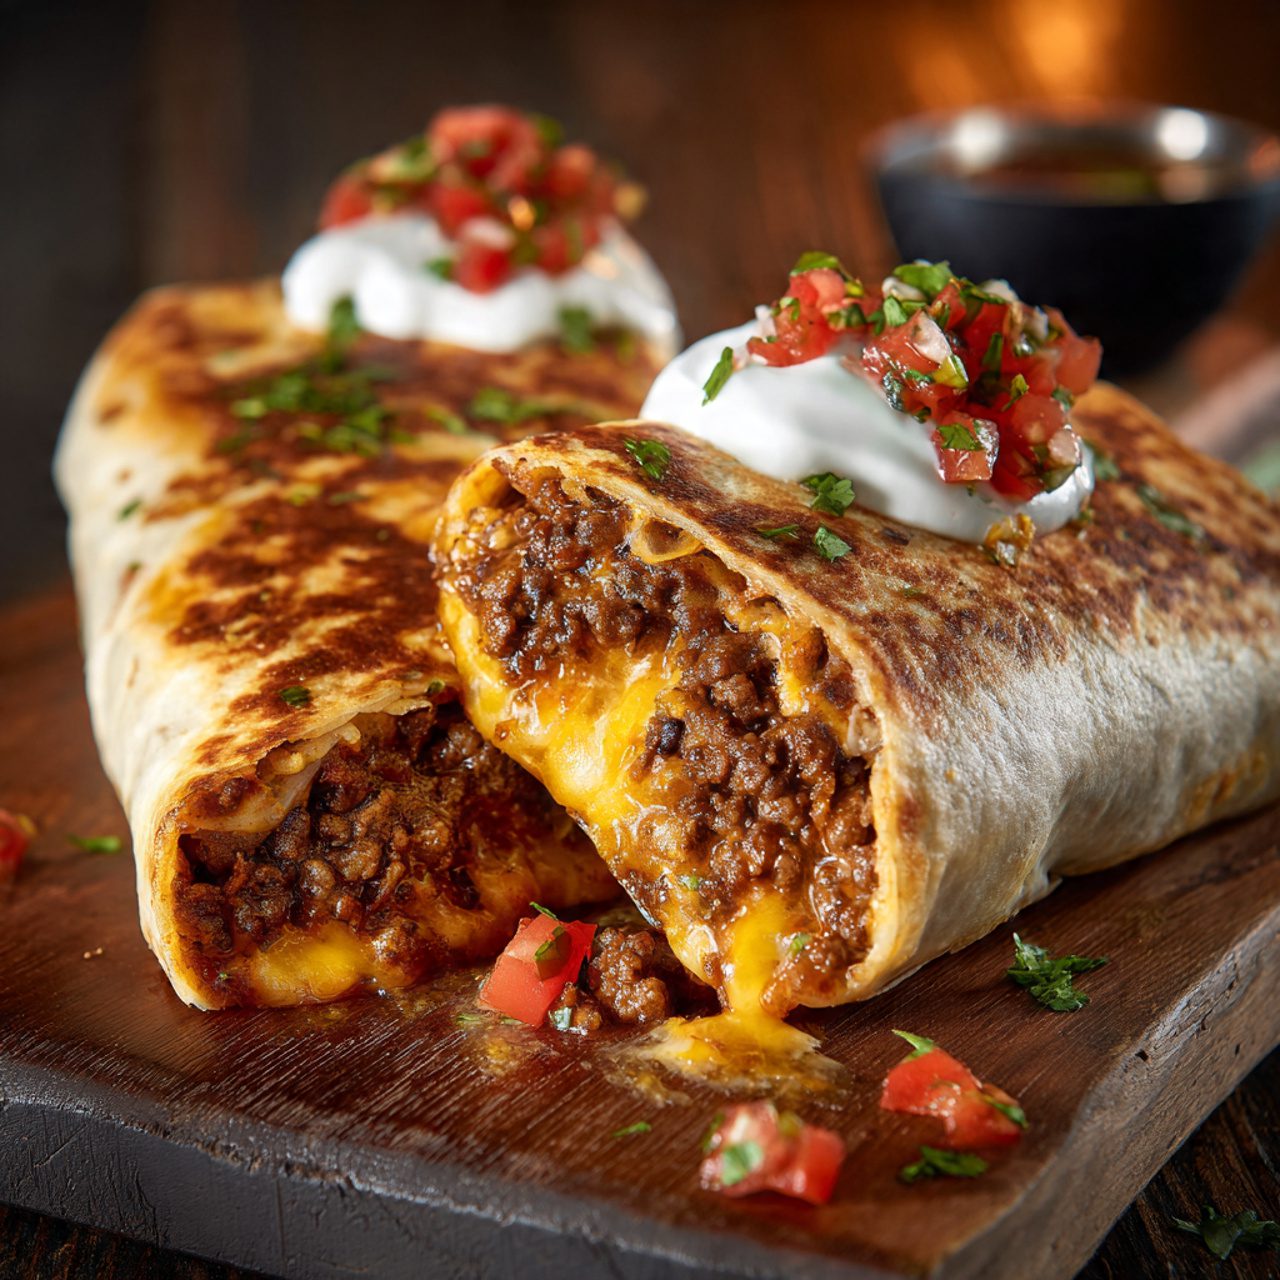
Slice the burritos in half and serve with a dollop of sour cream or Greek yogurt and fresh salsa. Dig in!
Nutritional Information
- Calories: Approximately 400 per burrito
- Protein: 25g
- Fat: 22g
- Carbohydrates: 30g
- Fiber: 7g
This meal is a well-rounded source of nutrients for a quick comfort feast!
Healthier Alternatives
Want to make your burrito a bit healthier? Consider these swaps:
- Swap Ground Beef: Use lean ground turkey or even plant-based meat alternatives.
- Use Whole Wheat Tortillas: They add fiber and help you feel full longer.
- Opt for Low-Fat Cheese: This can significantly reduce the overall caloric content.
- Add More Veggies: Diced bell peppers, onions, or spinach can make your burritos both healthier and more flavorful.
Serving Suggestions
These burritos can be customized easily to fit any occasion. Here are a few ideas:
- Toppings Bar: Set up a toppings station with guacamole, diced tomatoes, and shredded lettuce for friends and family to build their own burritos.
- Side Dishes: Pair with Mexican rice or tortilla chips and homemade salsa for a complete meal.
- Breakfast Option: Stuff with scrambled eggs for a delightful morning twist!
Common Mistakes to Avoid
While making these cheesy beef melt burritos is simple, keep these tips in mind to avoid common pitfalls:
- Overstuffing: Besides making rolling difficult, it can lead to messy burritos. Stick to a moderate amount of filling.
- Not Cooking Thoroughly: Ensure the beef is fully cooked to avoid any food safety issues.
- Skipping Cheese: Cheese adds the meltiness that makes these burritos irresistible, so don’t skimp!
Storing Tips
Got leftovers? Here’s how to keep them fresh:
- Refrigerate: Store in an airtight container in the fridge for up to 3 days.
- Freeze for Later: Wrap individual burritos tightly in plastic wrap and store in a freezer-safe bag. They can last for up to 3 months!
To reheat, simply microwave until warmed through or bake in the oven for a crispy exterior.
Conclusion
With this easy guide, you can whip up irresistible cheesy beef melt burritos in no time. They’re perfect for a quick comfort meal, customizable to suit various diets, and delicious to boot! Don’t forget to let us know how your burritos turn out in the comments below or share your own tips and tricks.
FAQs
Can I make these burritos vegetarian?
Absolutely! Substitute the ground beef with beans, lentils, or chopped vegetables for a delightful vegetarian option.
How do I ensure my burritos don’t fall apart?
Make sure to fold tightly and consider toasting the seams in the skillet for extra security.
Can I prepare this filling ahead of time?
Yes! You can prepare the beef filling a day ahead and store it in the fridge—just heat it up when you’re ready to assemble!
What can I use instead of salsa?
Fresh pico de gallo, guacamole, or even a drizzle of hot sauce can serve as delicious alternatives.
Any tips for making a burrito bowl?
Skip the tortilla entirely and serve the filling over rice or quinoa, topped with fresh veggies and your favorite sauces!
Get ready to savor every cheesy bite! 🌯 Don’t forget to subscribe for more delicious recipes and updates!
Leave a review :
There are no reviews yet. Be the first one to write one.